Readtime: 2-3 min
RMS level and and 3 tips on how to increase it

(RMS = Root Mean Square)
In the context of audio files, the RMS value (Root Mean Square) refers to the measurement of the average power of a signal over time. Specifically, it represents the effective value of the signal’s amplitude, taking into account both positive and negative values.
It is a useful metric in audio processing as it provides an indication of the perceived loudness of the signal. This is done over a specific time and usually it’s 300mS. This is no coincidence that it equals to the VU Meter integration time. The resulting RMS value is expressed in decibels (dB) and is commonly used in audio engineering to set appropriate levels for recording, mixing, and mastering. This is also very useful to ensure that your mixes sound as loud as “commercial” mixes.
Increasing the RMS value of a sound or an instrument can be achieved through a variety of methods. Let’s explore 3 of the most used methods.

The first approach is to apply dynamic range compression to the audio signal. This technique involves reducing the volume of the loudest parts of the audio while simultaneously increasing the volume of the softer parts. This results in a more consistent volume level, which can increase the perceived loudness of the audio and thus increase the RMS value.
The second approach is to use equalization to boost the levels of specific frequency bands, such as the bass or midrange frequencies, which can also contribute to a higher RMS value. However, it is important to use these techniques judiciously and not to over-compress or over-equalize the audio, as this can result in a loss of dynamic range and a less natural-sounding mix. Ultimately, the best approach will depend on the specific goals and characteristics of the audio file in question.
Here is the third and probably most important method to increase the RMS level of your mixes. Parallel compression.

This technique (also Known as New York compression) is commonly used during the mixing stage to increase the RMS value of any track whilst retaining the original Peak and dynamics. It involves sending a duplicate copy of an audio signal (or group of tracks) to a separate processing chain where dynamic range compression and equalisation is applied (this is your wet signal), while leaving the original signal unaffected. The resulting compressed signal is then blended back with the dry, original signal resulting in bigger, fuller and punchier sound.
The benefit of parallel compression is that it can help retain the natural dynamics of a sound while achieving a more consistent and polished result. By blending the compressed and uncompressed signals, the quietest parts of the sound are brought up in level, while the loudest parts are kept under control. This creates a more even sound, without sacrificing the original character of the source material.
Parallel compression is used daily on a wide variety of sources, such as drums, vocals, guitars, and synths, and can be implemented using a dedicated parallel processing bus or a plugin on a DAW. The key to successful parallel compression is finding the right balance between the compressed and uncompressed signals, so as to achieve the desired effect without overdoing it.
All the big engineers use parallel compression to add punch and RMS level to a mix, for example: Andrew Scheps and his signature parallel compression plugin “Scheps 73“, Chris Lorde-Alge on using parallel compression on mixing “Daughtry”, Michael Brauer and his parallel compression for vocals technique.
There are some simple yet very effective tools that you can use to measure, however the easiest of them all is the use of an RMS meter such as the Dorrough one included in one of the Waves bundles

The beauty of these meter types is that they not only tell you the RMS value of the signal but also the Peak value, so they are extremely useful on a mix bus when you are trying to get your mix to sound as loud as the commercial ones while keeping all the peaks under control. Depending on whether you are mastering the mix yourself or not the Peak Vs RMS values vary, so we go from peaking at 0dBFS with RMS as high as -3dBFs for mastered tracks all the way down to -9dBFs Peak and -15dBFs RMS for the unmastered track. If you are sending your mixes out to a mastering engineer we always recommend checking to see what levels she/he expects to receive.
In our next Blog article we’ll talk about Jonny Solway, Head Engineer at Dean Street Studio London and why he likes the Periscope. Stay tuned!
If you are interested in a quick an easy way to increase the RMS value of your mix by adding a solid parallel compressor channel you should check out the Periscope: a unique way to add excitement to your mix.
Readtime: 1-2 min
Decibels, what do they do? Part3 dBFs and clipping.
Once an audio signal has been acquired in the digital domain there is no need for voltage reference value as the signal is represented in “1” & “0”.
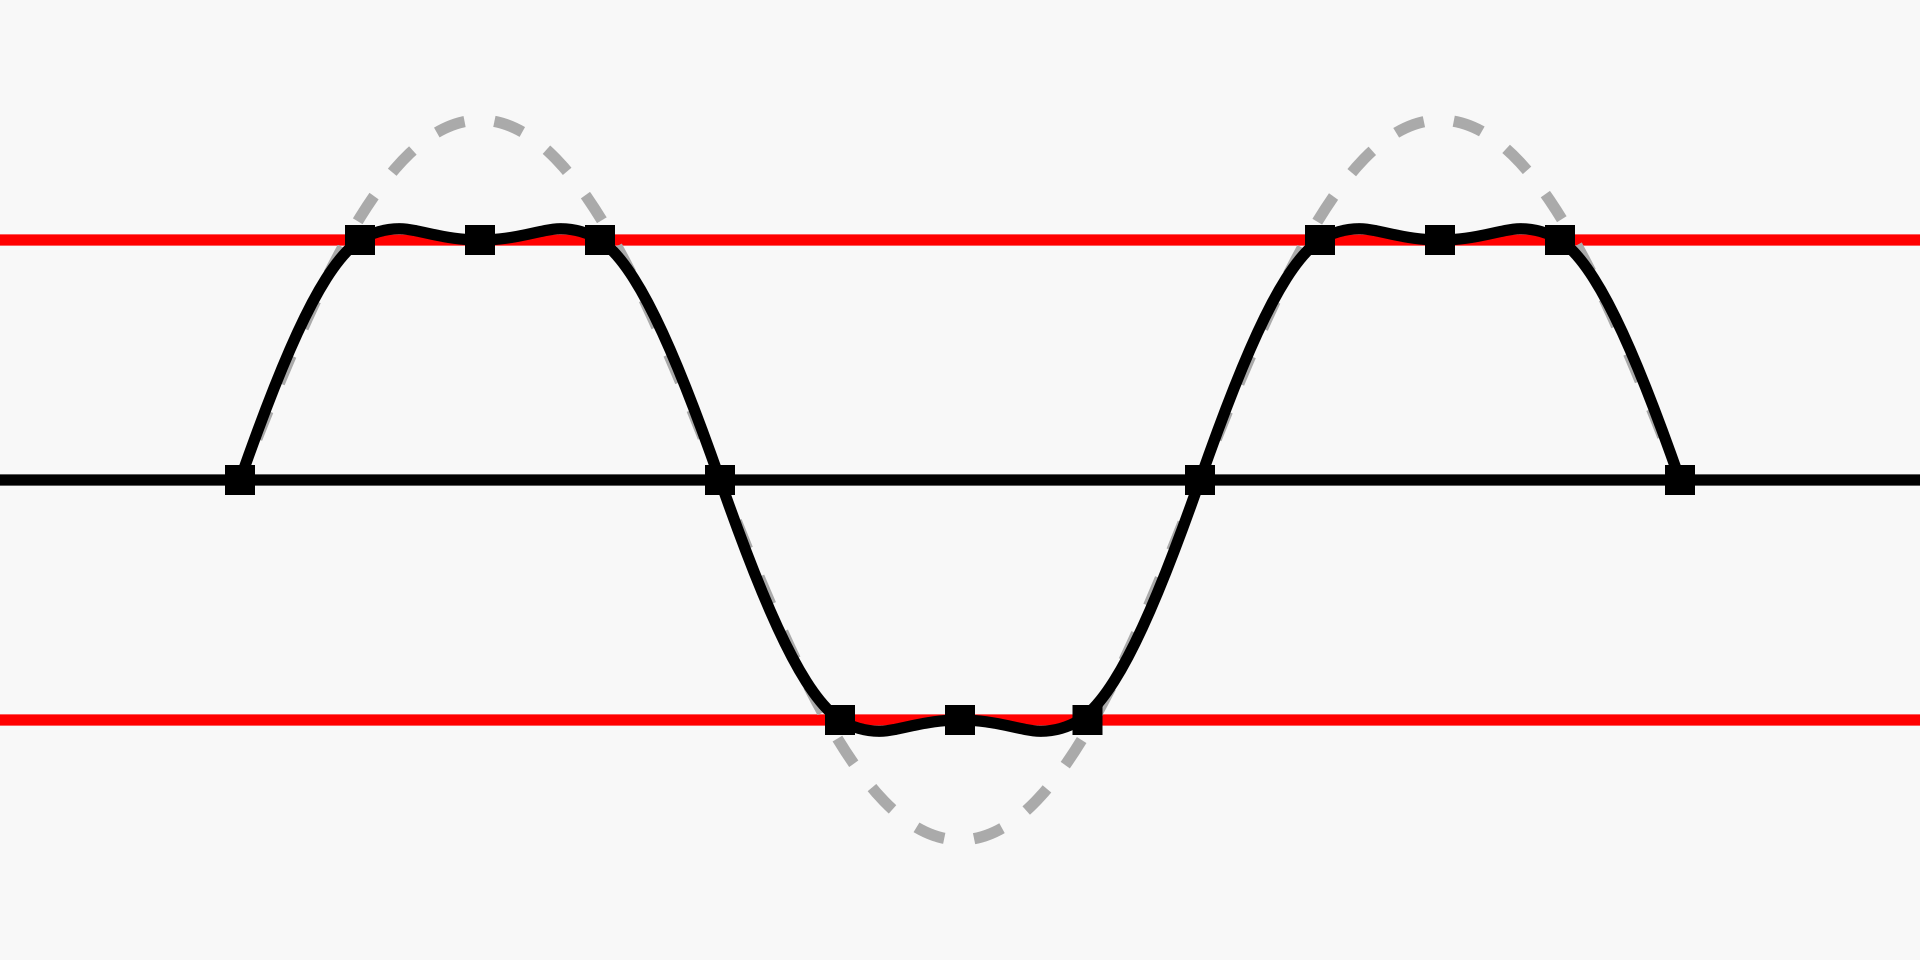
Whatever input or output your card is calibrated for, 0dBFs is the maximum internal digital level that it can accommodate before getting into severe distortion. The picture above illustrates this: the red lines indicate 0dBFs and the signal (in black) is pushed too far and clipped.
Red lights are there to warn you. When you are mixing or recording you need to watch out for them as they indicate one form of distortion or another. Some DAW have got a built in tolerance to distortion, however unlike analogue gear where distortion might be desired and a good thing to have, digital distortion can only lead to nastiness and artifacts: AVOID AT ALL COSTS!
if we wanted to show a sine wave clipping, we could do this easily by connecting an oscilloscope to the output of a device, a microphone preamp, a compressor or similar.
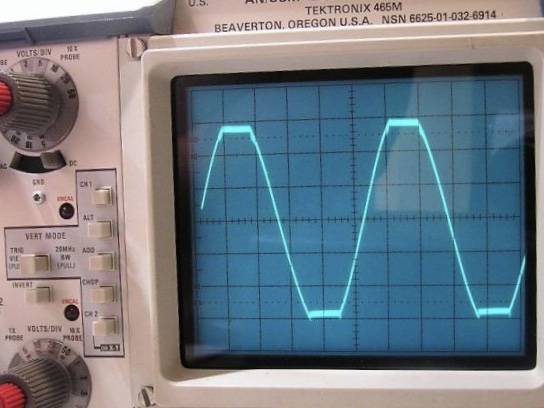
As you can see from the picture on the left both the top and bottom parts of the sine wave are clipped. This is called symmetrical distortion. This might be a wanted effect, but it does change the nature of the sound and adds what is called Total Harmonic distortion or THD. We will discuss this subject in another post dedicated to it. For now let’s concentrate on digital distortion inside your DAW.
Although this could have a beneficial effect on some analogue gear it is not recommended that you try and do that inside of your DAW as the results are likely to lead to loss of depth, artifacts and other unpleasant ripercussions.
There are several ways of ensuring you are not clipping your files, these range from plug ins inside your DAW to stand alone software with both paid or free options available. What we tend to use are applications or plug-ins that allow real time checking and to adjust the processing accordingly to avoid any clipping. It is, however entirely up to the engineer and her workflow to choose how to do it. Here are some options of both plug-ins and stand alone software, with both paid for and free options:
–iZOTOPE Rx Very powerful suite of plug-ins, this is our de-facto choice not only because of its versatility but also for the sheer amount of different remedial tools that will help you repair any problems.
–AudioLeak Also available for free! This is a Mac only stand alone software that performs a wide variety of level tests, from FFT to peak level to batch files analysis and processing. Powerful stuff.
Some free options are:
–Youlean This is a great free option with support of several standards. the paid subscription includes a ton of other very useful features, presets and drag and drop functionality. Check it out!
–Voxego SPAN FFT,Stereo ,M-S & Surround meter, Stereo correlation meter, EBU and K-system (thank you Bob Katz for this!) as well as RMS, true peak level and clipping detector. Did we mention is free?
–SSL X-ISM (inter sampling meter), not supported by Solid State Logic anymore (hence the link is not official) but a great (free!!) tool to have in your arsenal (while it works).
If you like to write your own code and use an Apple computer, there is another way for you to check if an audio file has clipped. This is a post processing application, so can only be performed after the mix or after the file has been processed.
1.Open Terminal
2.Type “afclip” with a space after
3.Drag a file (or a bunch of them) onto the window
4.Hit Enter
5.After a little while you’ll see one of the following three messages:
This is part of the of the Mastered for iTunes procedure: FUN STUFF!
In our next Blog article we’ll talk about RMS levels, Parallel Compression and how they go hand in hand. Stay tuned!
Readtime: 1-2 min
dBm, the gear that uses this standard & a little experiment.

(dBm)
We talked about dBu which is used to measure voltage in this article.
dBm is instead used to measure power.
The “m” in dBm stands for milliwatt, where 0 dBm equals 1 milliwatt of power over a 600 ohm impedance that dissipates 0.775V.
dBm is mostly obsolete, but we need to talk about it because the current dBu standard is derived from dBm.
In the past systems were designed to transfer as much power as possible across very long telephone lines and it was deployed for that reason. In the modern world we want to transfer voltage regardless of impedance as it is much more efficient. dBm and dBu values are often the same, but dBm applies only when the input and output of a devices has a 600 ohm impedance.
Gear that uses a 600 ohm input and output system is:
-LA-2A
-Pultec EQ
-1176
Most stuff from 50s and 60s. We recommend to always take the time to read the manual! If you own anything that uses a 600 ohm input/output transformer you might get some benefits by adding a 647 ohm resistor across its output. This could help them “drive” better whatever equipment that follows.
BIG DISCLAIMER here before we go ahead. The following experiment might give different results to different people, this is due not only to the empiric nature of it but also varies with length of cables between equipment so do not expect a night&day difference, but give it a go and see if it works better for you.
If you have bought a Pultec, an LA-2A, LA-3A, 1176s and so on you might want to experiment by adding a resistor across it’s output to “help it drive the following device better”. This is especially true if you are connecting your 600 ohm device to a modern device that uses a 10Kohm input impedance. Pretty much anything built from the 70s onwards uses a 10K to 30Kohm input impedance so you do not need to worry about any contemporary gear.
Adding a resistor between the output of your LA-2A and your AD (Analogue to Digital converter) means allowing as much voltage transfer between the two devices with the potential benefit of reducing some noise.

To do this all you need is a short XLR to XLR such as the one in the picture below.
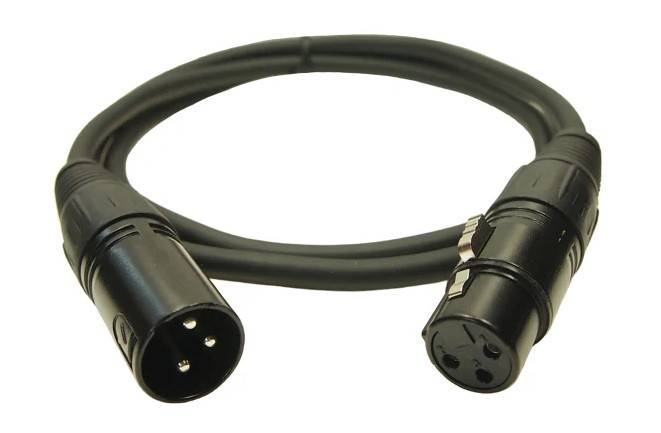
Now source a 649 ohm resistor or the closest value you can get. Here is a table with standard values. Experiment with anything between 620 and 681. Below you see a table with the colour coding for a 649 ohm. The one in the picture below is 620 ohm.

Solder the chosen resistor across PIN 2 and PIN 3 of the XLR.
See picture below.

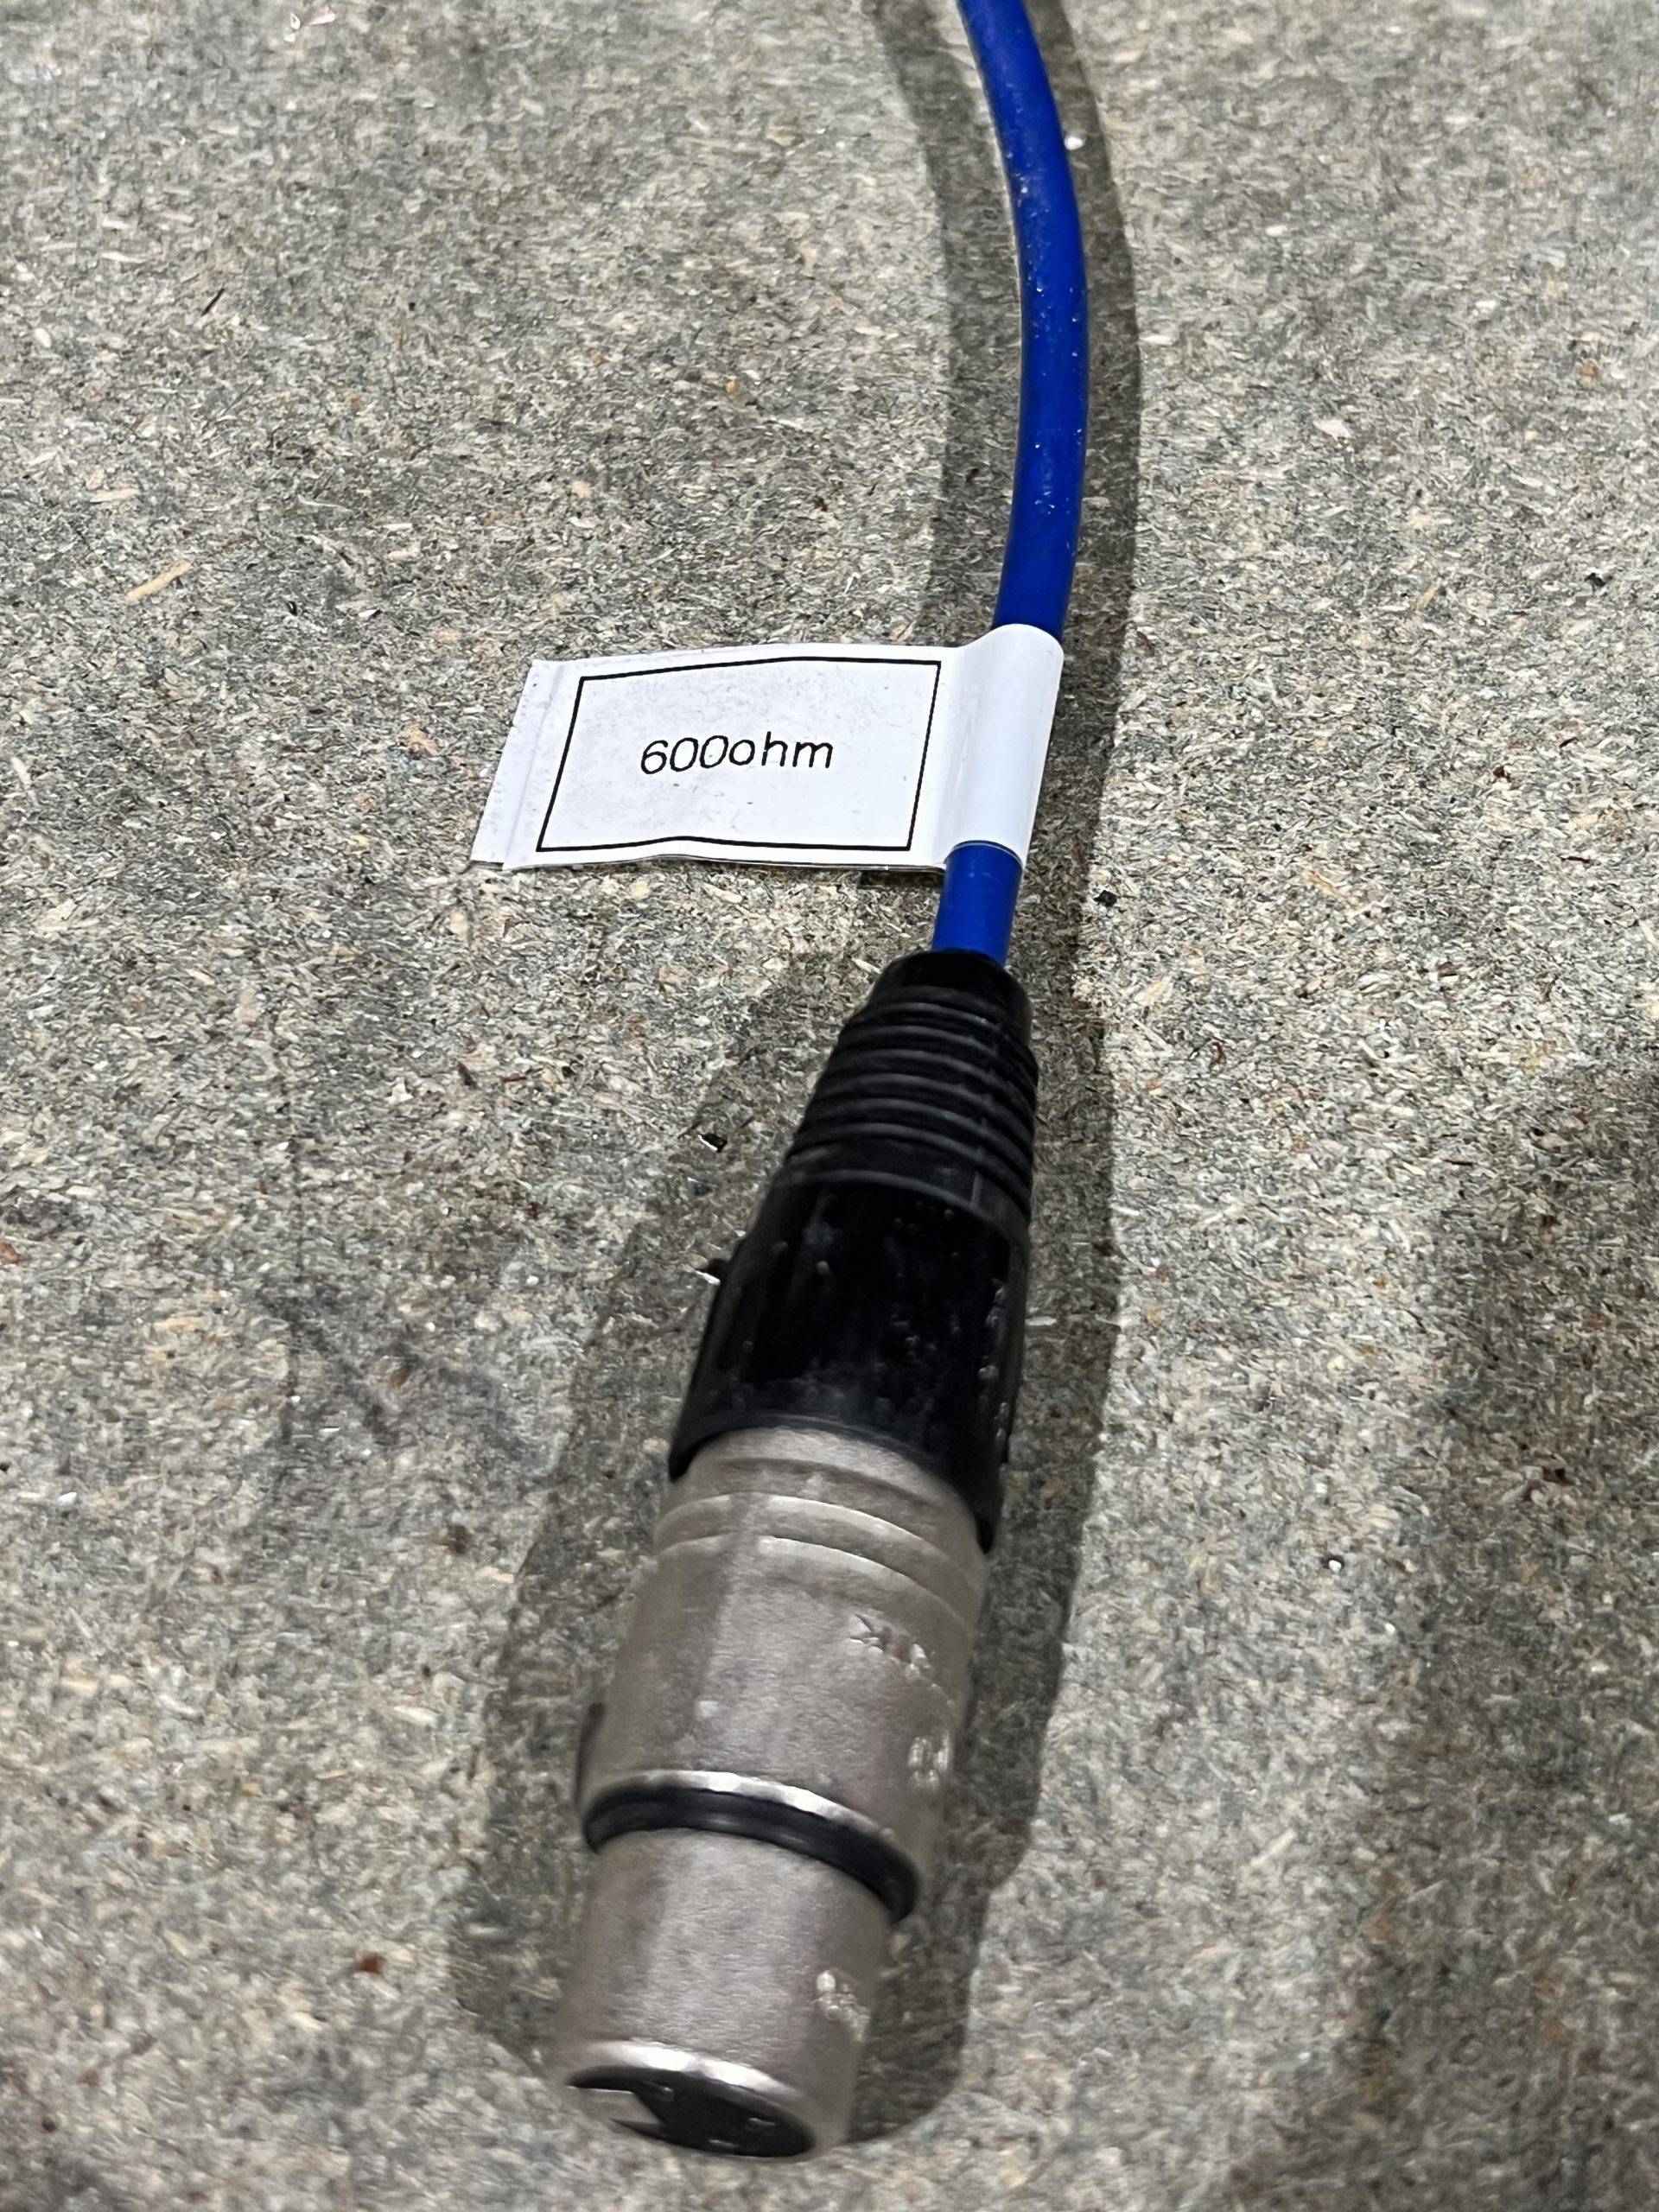
Close the XLR connector back together, add a label so you do not get confused with other cables and install it at the output of the 600 ohm device you want to use it on. Job done!
Readtime: 1-2 min
And what are the practical applications and examples. Part 1.
(dB)are a logarithmic unit of measurement.
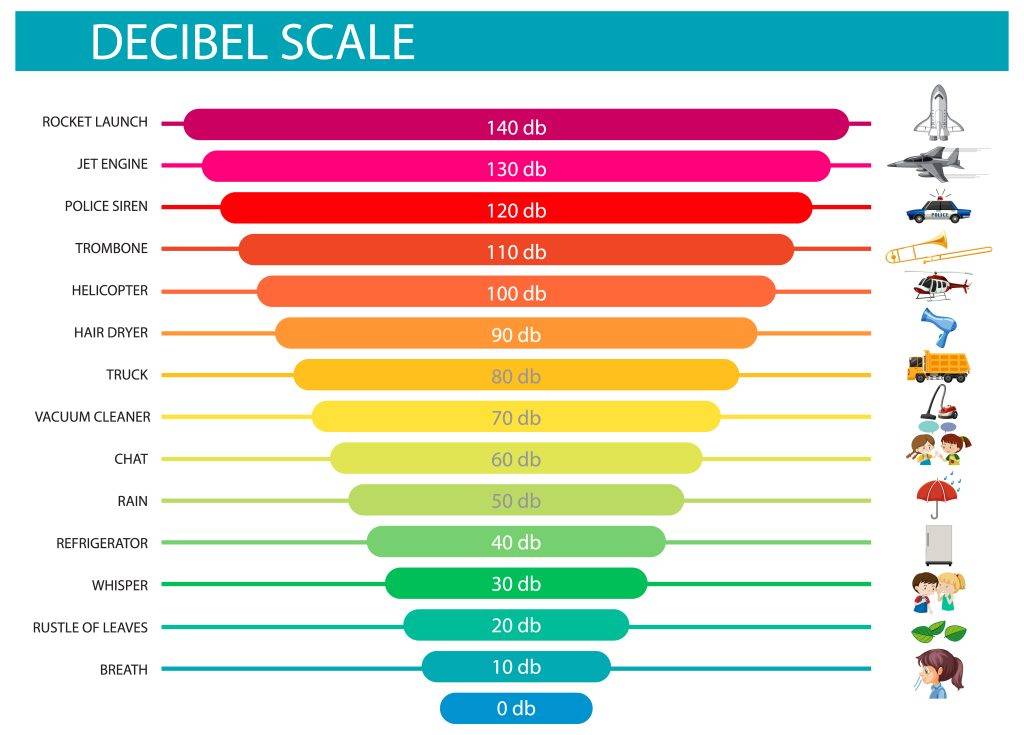
In sound and music, decibels are used to express the loudness of a sound.
higher decibels levels indicate a louder sound.
The human ear is capable of detecting a wide range of sound intensities, we use decibels for a more intuitive and manageable representation of sound levels.
In electronic terms (referred to voltage) this is also important when using equipment as this tells you how much you are boosting or cutting a signal.
to give you an example
+6 dB = boost the voltage 2 times
+20 dB = boost the voltage 10 times
+40 dB = boost the voltage 100 times
+80 dB = boost the voltage 10,000 times
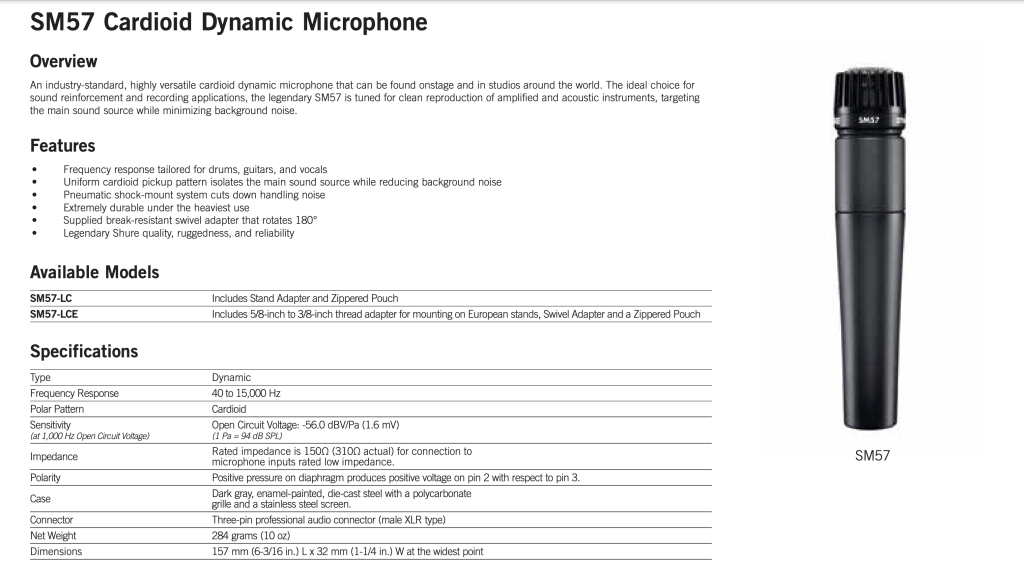
If you consider that your standard dynamic mic (Shure SM57) outputs 1millivolt (0.001V) and if used on a quiet source you might be setting your microphone preamps to 80dB you would be likely seeing at the out XLR of the preamps something in the region of 10V volts or 22dBu.
That is a huge amount of amplification.
There is no such thing as “free gain” and the main trade off is that gain always carries noise with it, the more you amplify the more noise you create. The only way of amplifying a signal without inducing more noise to it is to use a transformer, but more on this subject in future posts.
The main TIP here would be to always match the microphone type and sensitivity to the source loudness to achieve the best Signal to Noise Ratio S/N.
(dBu) The “u” in dBu stands for “unloaded/unterminated” because the levels are not dependent on a specific load impedance, or termination.
Current audio gear specifies input and output levels as dBu where 0 dBu is 0.775 volts.
This voltage is not arbitrary and it relates to an earlier standard called dBm to be discussed in another post.
The volume unit (VU) meters in a recording studio or broadcast console is offset by convention.
When calibrating equipment, we typically use a 1 KHz sine wave at +4 dBu (1.23 volts). So when we send that to an input, if everything is at unity we would expect the console’s meter to read 0 VU.
+4dBu should be your new best friend 😉

Stay tuned for Part 2!